How to Create and Run a Tournament
Build a tournament bracket from a division, run the draw, score matches live, and finish the event.
Before You Begin
You need a division with registered teams. If you haven't set one up yet, manage your divisions first.
Note
Each division can have one tournament. Tournament state moves left to right across Draft → Built → Drawing → Ready → Check‑In → Live → Complete — you'll see this same status strip on every page inside the tournament workspace.
Creating Your Tournament
Step 1: Click Create Tournament
Open your division (Events → your event → click the division card). The top of the division page shows a blue Create Tournament card with a "Build the bracket and schedule to kick off competition" subtitle. Click Create Tournament to start.

Step 2: Tournament Overview
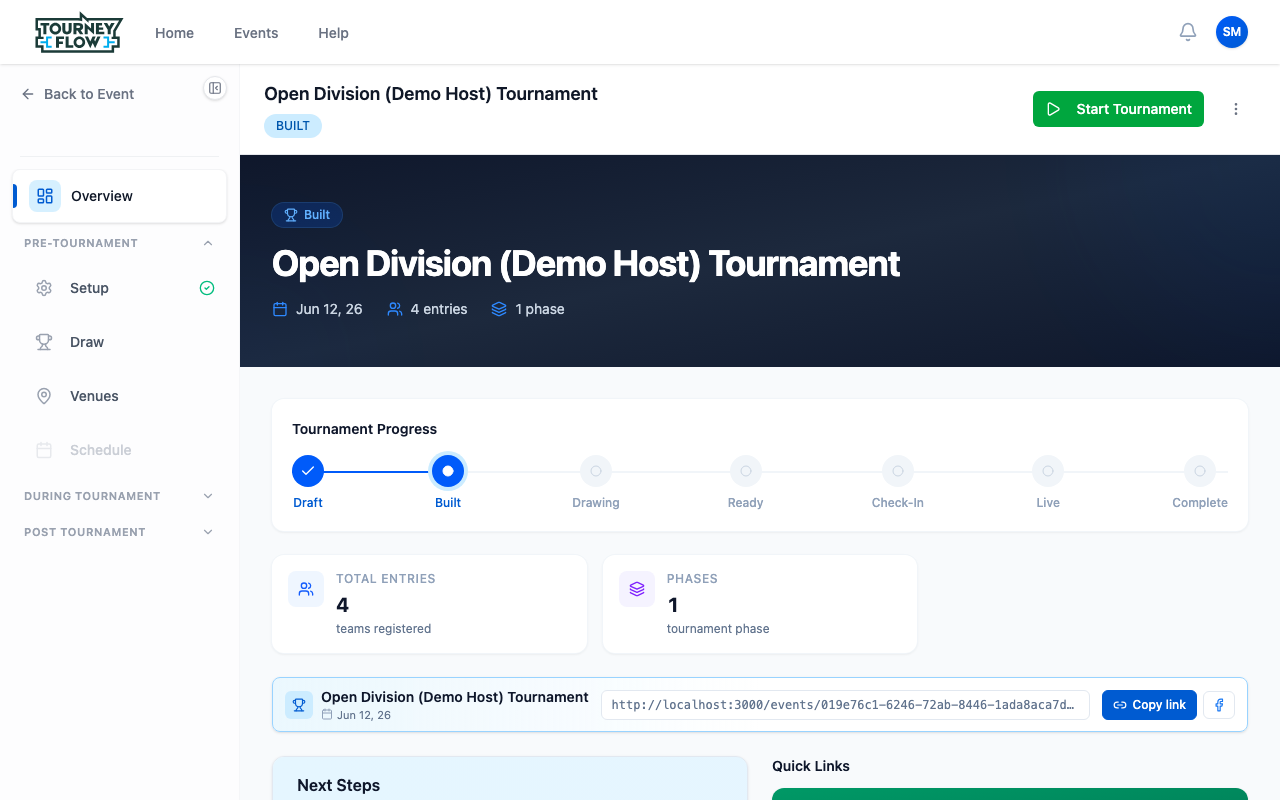
After creating, you land on the tournament workspace. The header shows the tournament name, current status badge (BUILT in this example), and a green Start Tournament button. The left sidebar is your navigation — grouped into Pre‑Tournament, During Tournament, and Post Tournament.
The body shows the Tournament Progress strip, total entries, phases, and a copy‑able public link participants can use to follow along.
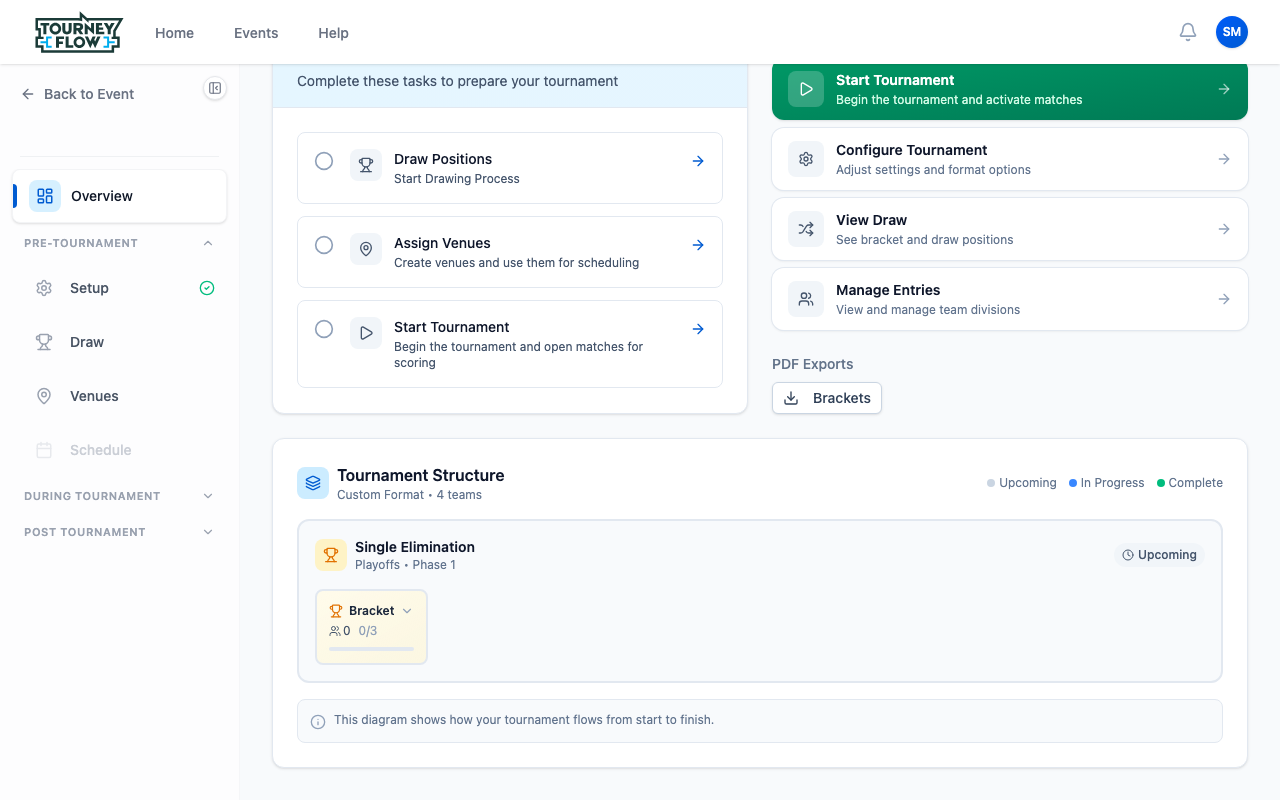
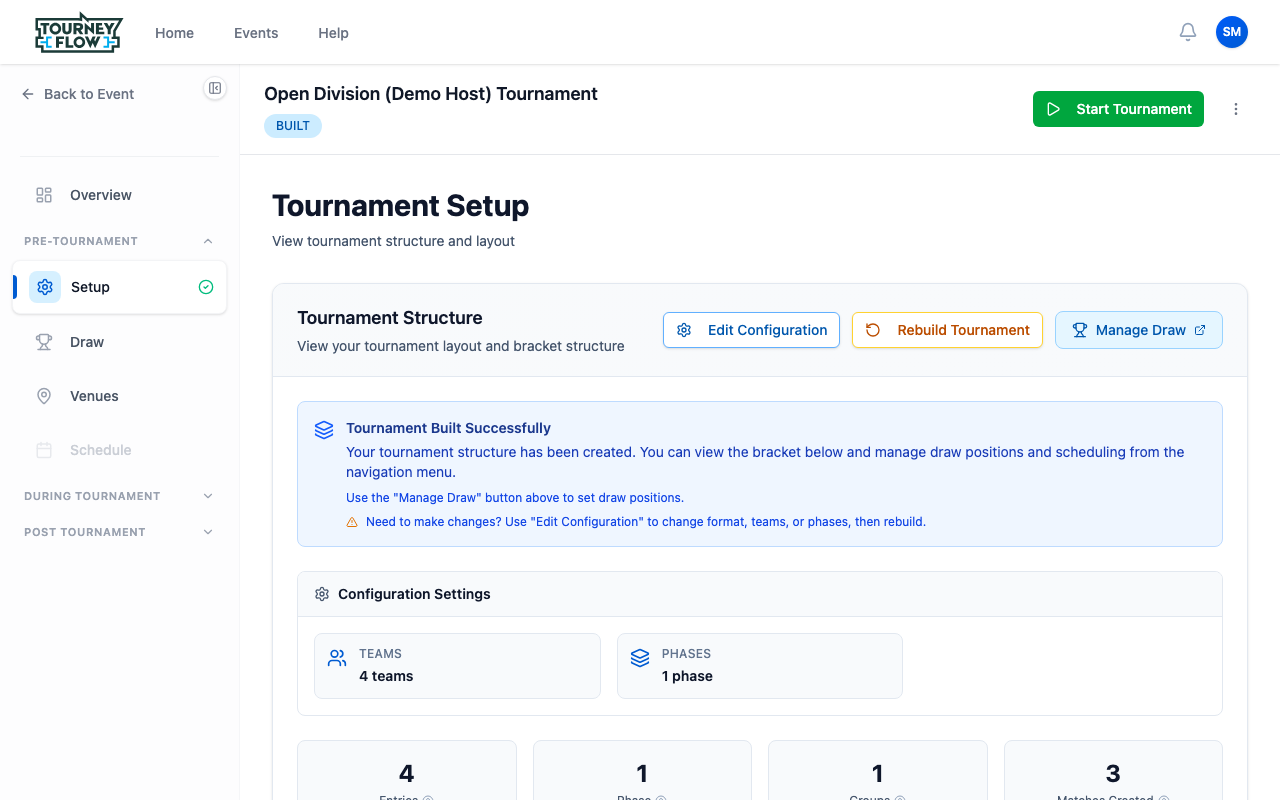
Step 3: Review the Built Tournament
Same page, scrolled to the summary cards: total entries, phase count, and Quick Links / Next Steps so you know what to do before kicking off matches.
Managing Entries and the Draw
Step 4: Entries
Click Setup → Entries in the sidebar. Each registered team becomes a tournament entry with a seed position. The page shows totals (Total Teams, Confirmed, Pending) and a card per entry so you can swap seeds, mark withdrawals, or add a manual entry.
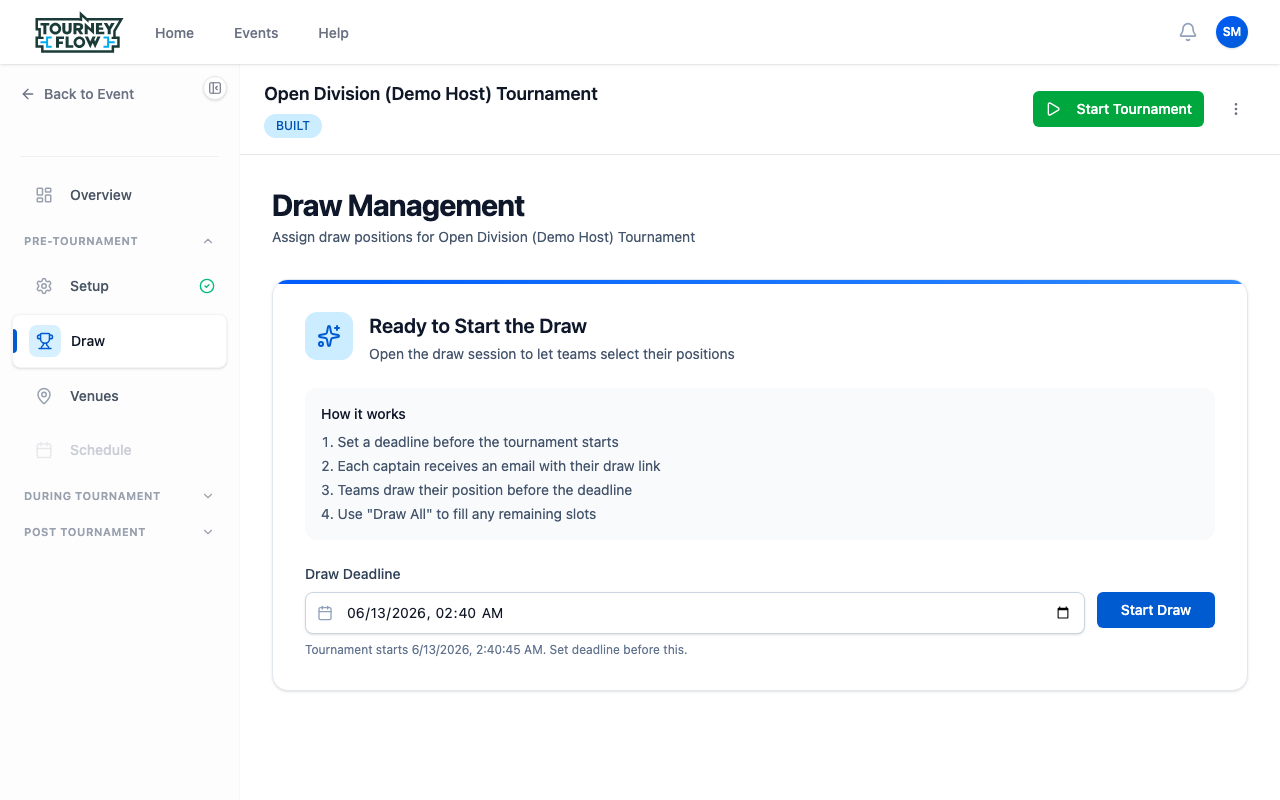
Step 5: Run the Draw
Click Draw in the sidebar. Draw Management lets you open a draw session that teams complete themselves:
- Set a draw deadline before the tournament's scheduled start time
- Each captain receives an email with their private draw link
- Teams draw their position before the deadline
- Use Draw All to fill any positions teams didn't claim in time
Click Start Draw when you're ready to share the links.
Tip
Self‑draw is great for atmosphere — captains pulling their own seed on event day is a moment people post about. If you'd rather move fast, just click Draw All to randomize positions yourself.
Running Your Tournament
Step 6: Open the Live Dashboard
Expand During Tournament in the sidebar and click Live. The live dashboard surfaces MATCHES, LIVE, OVERDUE, and POOLS counters across the top, and lets you switch between Courts and Pools views. Each pool/bracket shows its progress bar and the Next match queued up — a green play button starts it.

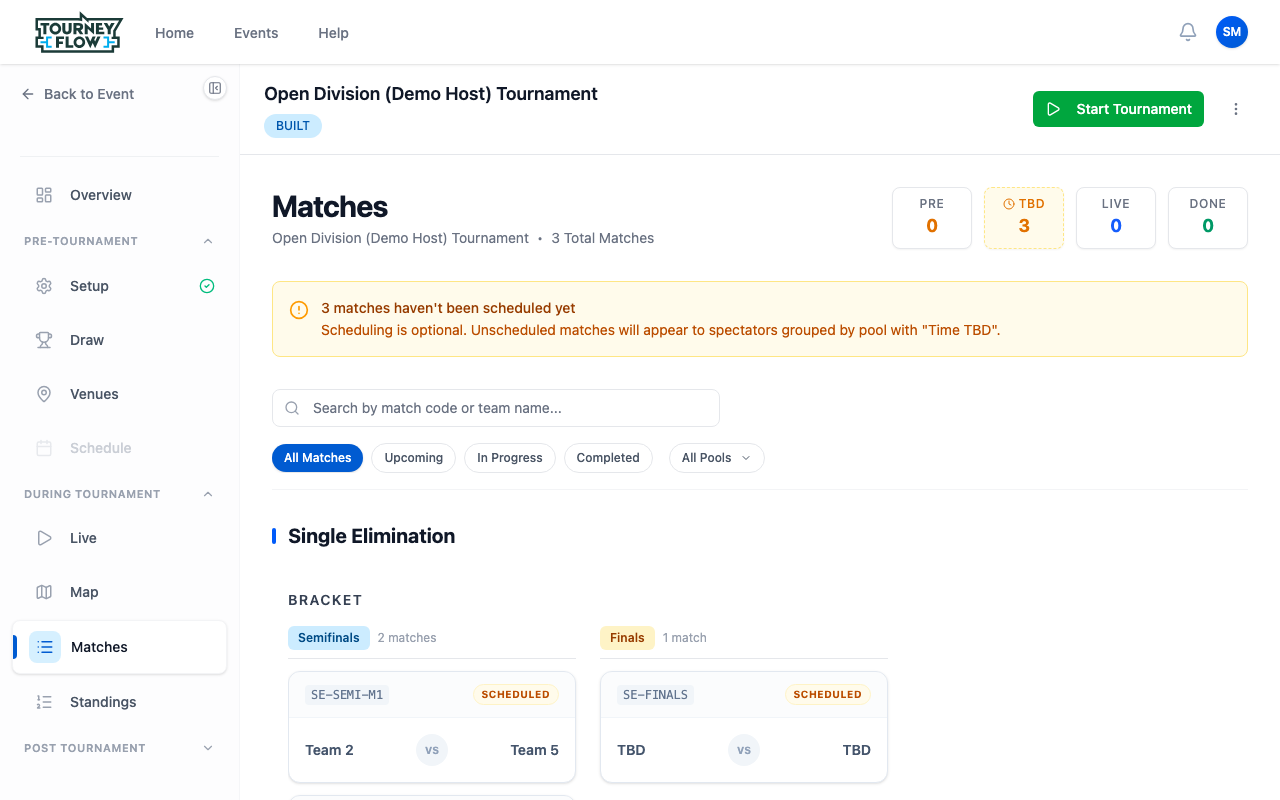
Step 7: Score Matches
Click Matches in the sidebar for the full bracket view. Each match card shows its code (e.g. SE-SEMI-M1), its status (SCHEDULED, IN PROGRESS, COMPLETED), and the two entries playing. There are three ways to enter scores:
- Direct entry — click a match and type the scores in yourself
- Scoring tokens — share scorekeeper links with table workers or refs
- QR codes — print a QR for each court; refs scan and score on their phone
Use the filter bar (All Matches / Upcoming / In Progress / Completed) and the All Pools dropdown to narrow what you're looking at when the schedule fills up.
Step 8: Start the Tournament
Once the draw is done and you're ready for matches to count, click the green Start Tournament button in the top‑right of any tournament page. Status moves from BUILT to LIVE and scores you enter become official.
Step 9: End the Tournament
When the bracket fills out and a champion is decided, click the kebab menu (⋮) next to Start Tournament and choose End Tournament. Status moves to COMPLETE and results lock.
Note
After ending, head back to the division page to publish results — that's what generates the public results page and gives winning teams their achievement badges.
What's Next?
- Publish results from your division management page
- Update event settings or assign coordinators if you want to share post‑event admin work