How to Change Your Division Roster
Add or remove players from the roster for a specific division registration without affecting your team.
Before You Begin
You need to be a captain on the team that's registered for the division. If you haven't registered yet, register for a division first.
Note
Your team roster and your division roster are different things. Your team roster is the full list of people on the team. Your division roster is the subset of those people that will actually play in a specific event's division. Changing one doesn't automatically change the other.
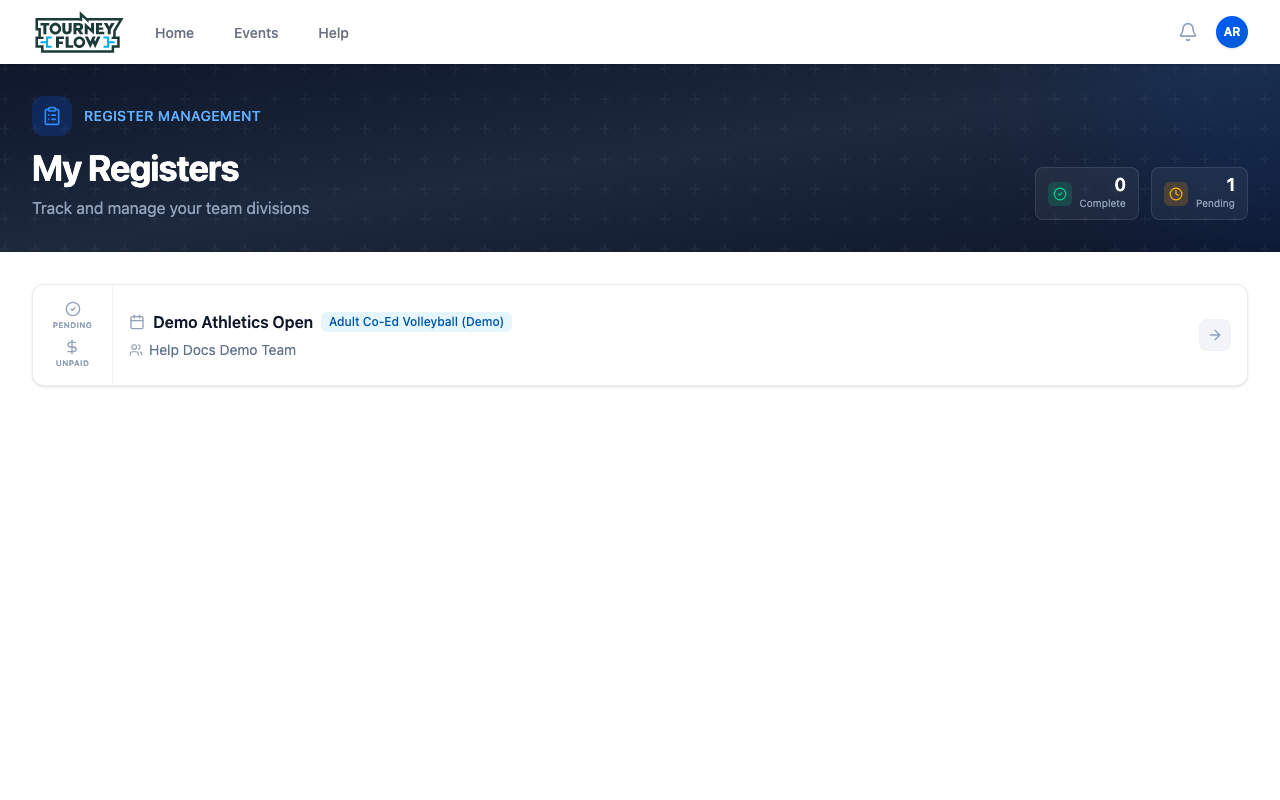
Step 1: Open Your Registers
Open the account menu (avatar in the top‑right) → Registers, or go to My Registers. Click the registration whose roster you want to change.
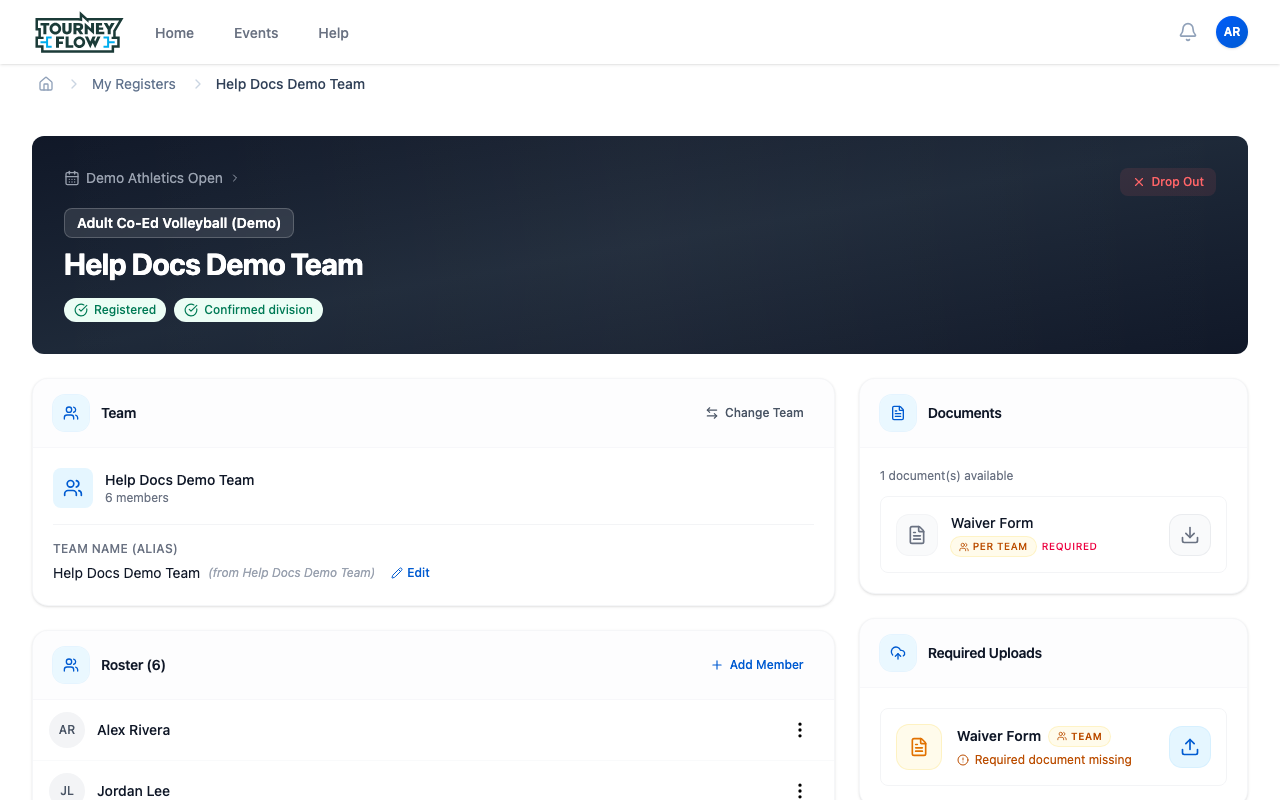
Step 2: Scroll to the Roster
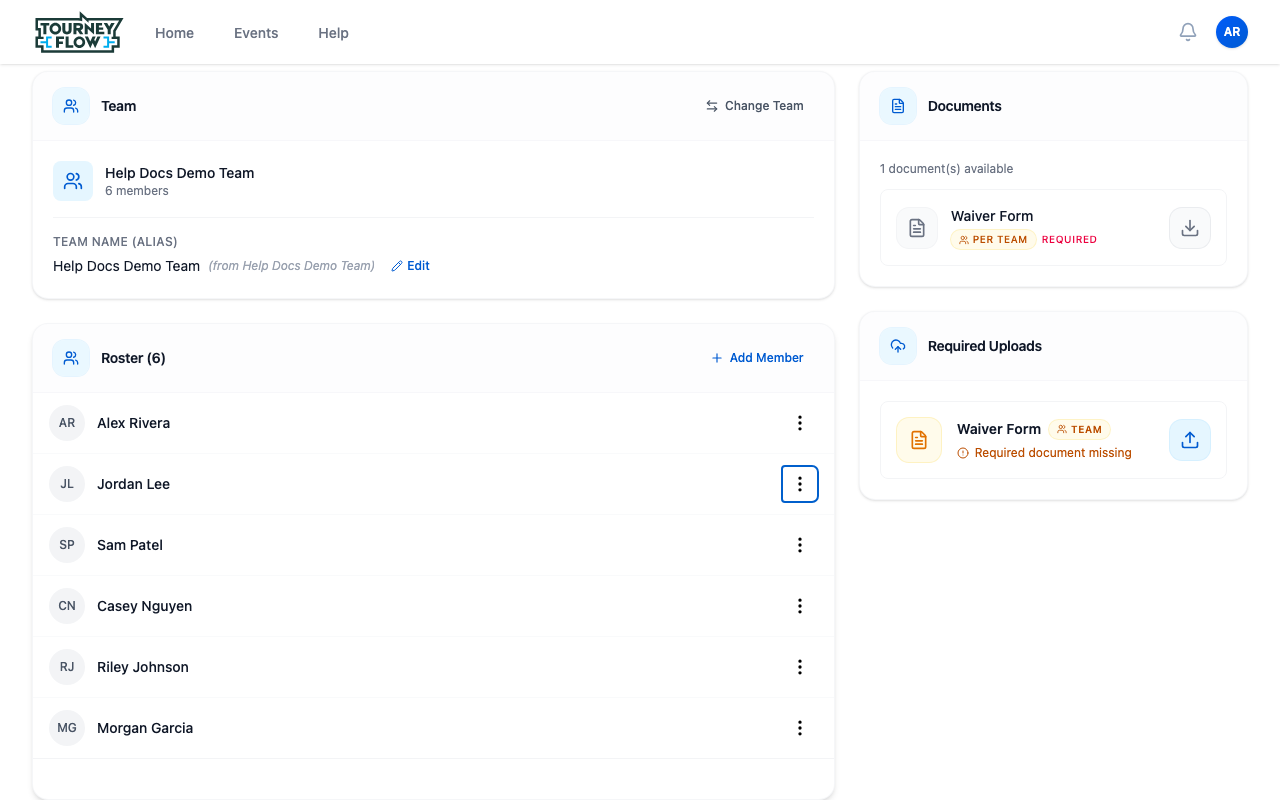
On the registration page, scroll down to the Roster section. It lists everyone currently registered to play in this division for your team. Captains are marked with a CAPTAIN badge, co‑captains with CO‑CAPTAIN.
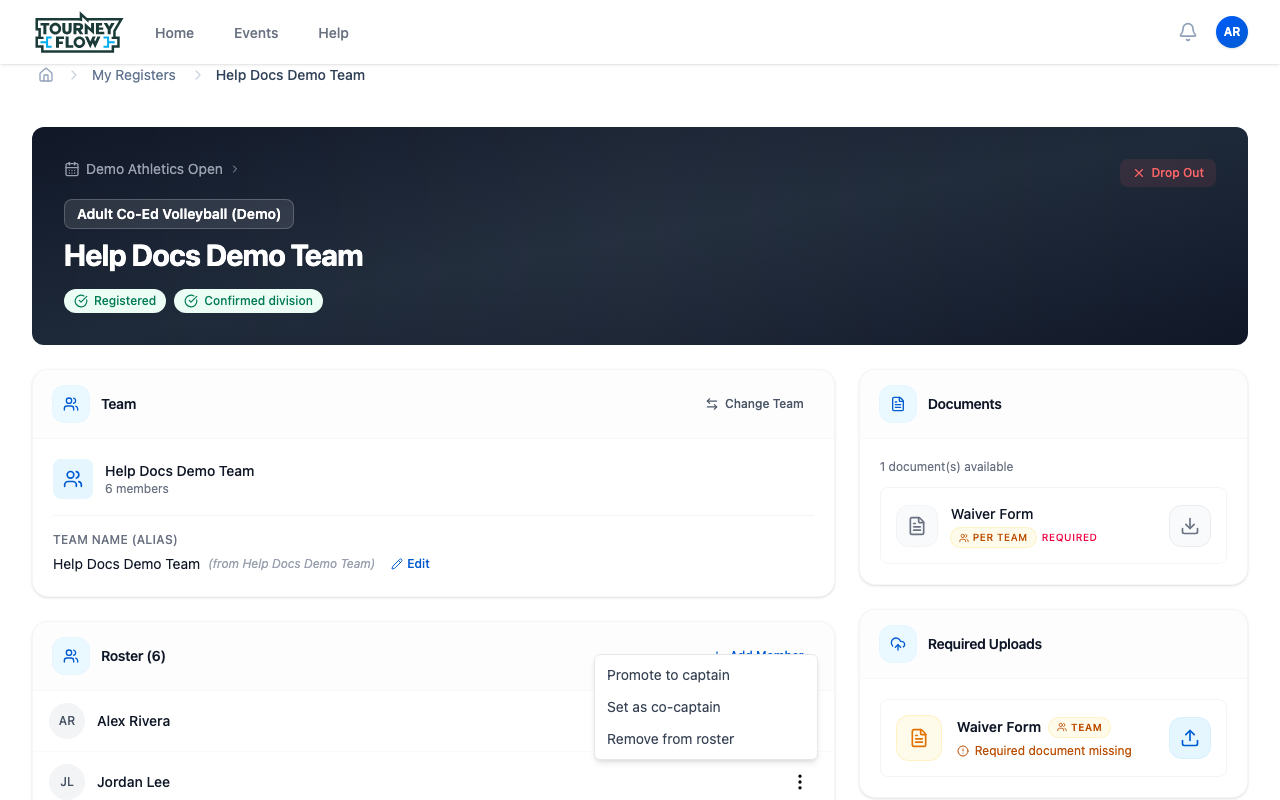
Step 3: Change a Player's Role or Remove Them
Hover a player's row and click the ⋮ (more) button on the right. The menu shows the actions available for that player:
- Promote to captain — gives them full management permissions for this registration
- Set as co‑captain — captain‑lite: can manage the registration but can't promote others
- Demote to player — shown for captains/co‑captains when at least one other leader remains
- Remove from roster — drops them from this division's roster (they stay on the team)
Warning
You can't remove the last captain on a roster. If you need to step down as captain, promote someone else first, then either demote yourself or have them remove you.
Step 4: Add an Existing Team Member
When team members exist that aren't yet on this division's roster, an Available Teammates panel appears at the bottom of the Roster section with an Add button on each name. Click Add to drop them straight into this division's roster — no new modal required.
Note
If the panel doesn't appear, every team member is already on this division's roster — there's nobody left to add from your team.
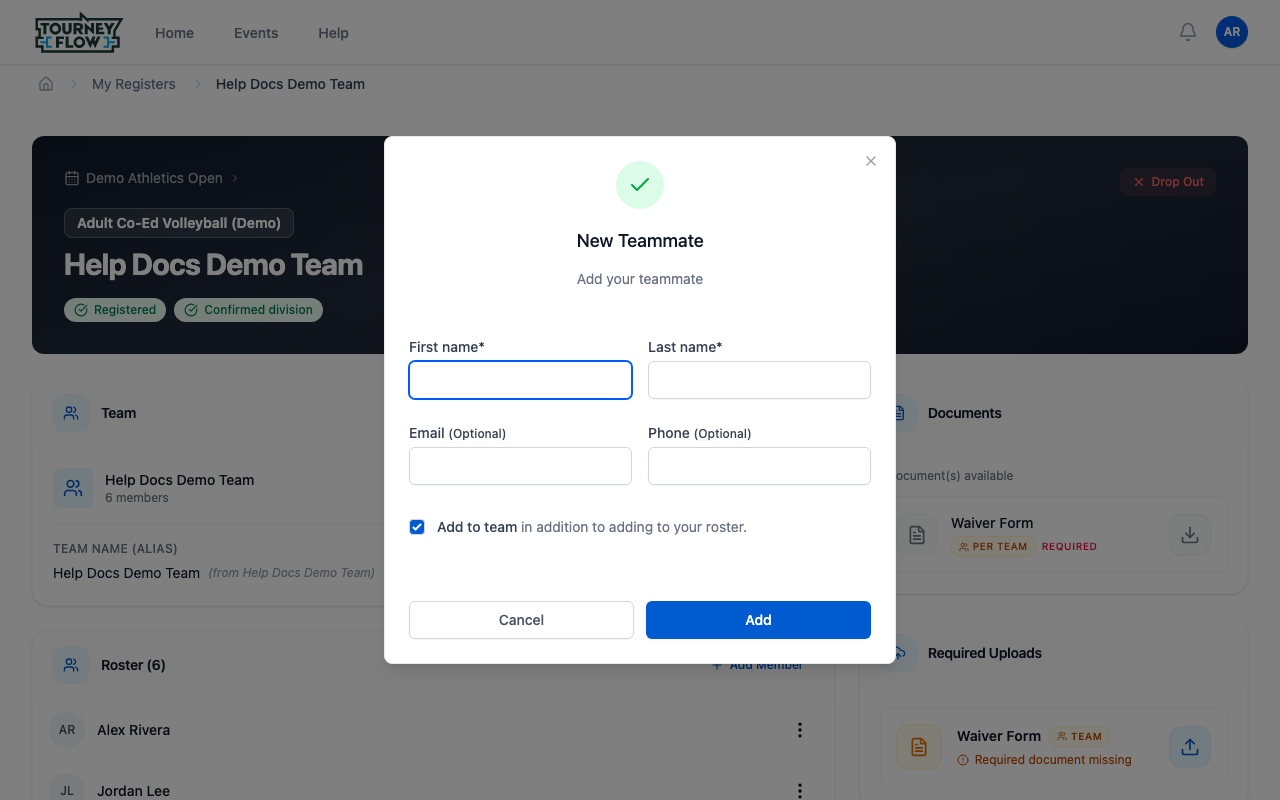
Step 5: Add a Brand‑New Player
To add somebody who isn't on your team yet, click the + Add Member button next to the Roster heading. The New Teammate dialog opens. Fill in:
- First name (required)
- Last name (required)
- Email (optional) — lets them claim the profile and sign in later
- Phone (optional)
- Add to team checkbox — leave checked to also add them to your permanent team. Uncheck if this person is a one‑event substitute and shouldn't show up on your team page.
Click Add. They join this division's roster, and (if the checkbox is on) your team roster too.
Roster Rules to Know
- Only captains (team or division) can add, remove, or change roles on a division roster.
- Roster limits are set per division by the organizer. If you're at the cap, you'll need to remove someone before adding another.
- After registration closes, the organizer may lock the roster. If you see a banner that says editing is disabled, contact a division coordinator.
- You must keep at least one captain on the roster at all times.
What's Next?
- Upload required documents once your roster is set
- Need to manage members across all your divisions at once? Go to your full team roster instead