How to Set Up and Manage Divisions
Create competitive divisions, set registration limits, add fees, attach document requirements, and track who's registered.
Before You Begin
You need an event already created. If you haven't made one yet, create an event first.
Note
A division is a single registration pool inside an event — e.g. "Men's Open", "U18 Mixed", "Beginner Co‑Ed". Each division has its own team limit, roster limit, deadline, fees, and document requirements.
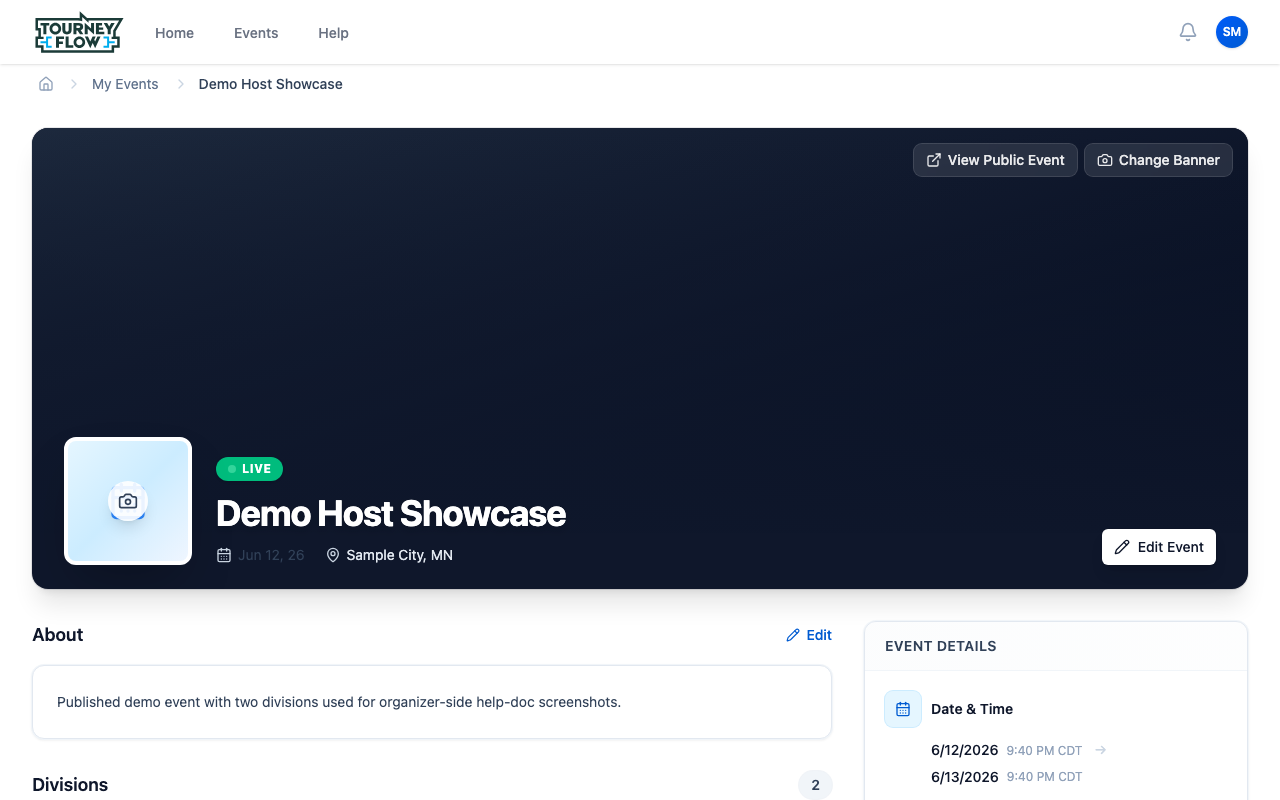
Step 1: Open Your Event
Open the account menu → Events, then click the event you want to add divisions to. You'll land on the event management page with the event hero, an About section, and the Divisions list below.
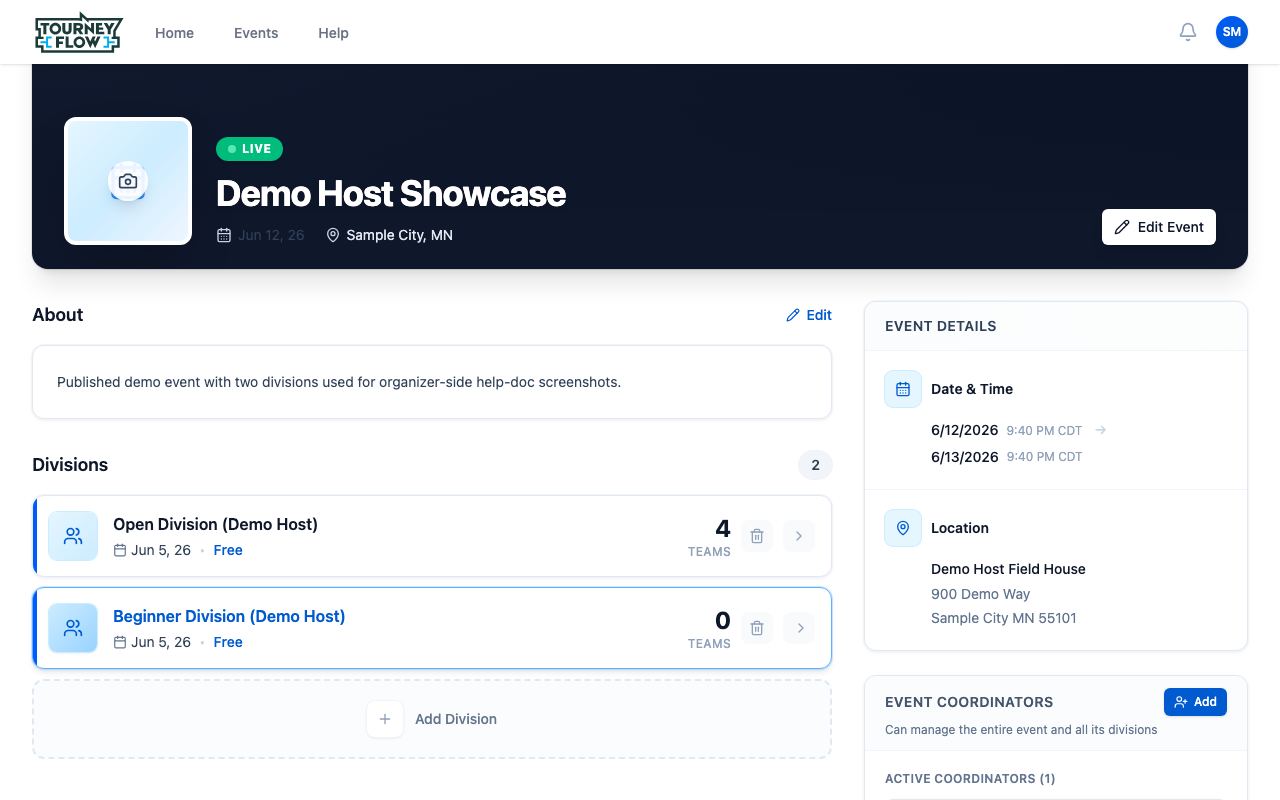
Step 2: Add a Division
Scroll to the Divisions section. Each existing division appears as its own card with a quick team count and entry fee status. Click + Add Division at the bottom of the list to open the create form.
In the create form, set:
- Division Name — e.g. "Open Division", "U18 Mixed", "Women's Beginner"
- Team Limit — maximum number of teams that can register
- Roster Limit — maximum players per team
- Registration Deadline — when registration closes
Step 3: Configure the Division
Click any division card to open its detail page. The header summarizes everything at a glance — teams, complete, paid, capacity, roster limit — followed by a Tournament card that lets you create or view the bracket.
The right‑hand Division Details panel is where you adjust the deadline, fees, custom fields, and document requirements without leaving the page.

Step 4: Add Registration Fees
In the Division Details sidebar, click + Add fee under Fees. Fees you can add include:
- A flat registration fee (e.g. $200 per team)
- A separate facility fee or referee fee
- Different fees per registration window (early bird vs. regular)
Each fee has its own amount, description, and due date, and teams see them stacked on their My Registers page until paid.

Tip
If your event has multiple divisions with the same fee structure, add the fee on each division — fees are per‑division, not per‑event, so participants see exactly what applies to their registration.
Step 5: Add Document Requirements
Switch to the Documents tab on the division detail. Documents come in two shapes:
- Templates the organizer provides (e.g. a downloadable Waiver PDF) — participants download and review them
- Files the team has to upload back (signed waivers, proof of age, insurance certificates)
Each requirement is tagged PER TEAM or PER PLAYER and toggled REQUIRED or optional. Required uploads block the registration's Complete status until they're satisfied.

Tip
If you belong to an organization, you can re‑use documents from your organization's document library instead of uploading the same waiver across every event.
Step 6: Track Registrations
The Registered Teams tab on the division detail lists everyone who has signed up — team name, captain, status badges, and quick actions to download their submitted files or remove the registration. You can also use the small icons on the right of the tab strip to:
- View a member list across the division
- Duplicate team rows for export
- Generate a PDF of all registered teams

Note
The header counters update in real time: when a team finishes their roster + uploads + payment, complete ticks up automatically.
What's Next?
- Create a tournament from this division once registration closes
- Assign event coordinators to share management work