How to Upload Required Documents
Find what documents your division requires, then upload them from your registration page.
Before You Begin
Your team must be registered for a division. Each division decides its own document requirements, so what's required (or whether anything is required at all) depends on the event organizer.
Note
Only captains can upload documents on behalf of the team. If you're not a captain, ask one to upload, or have them promote you to captain.
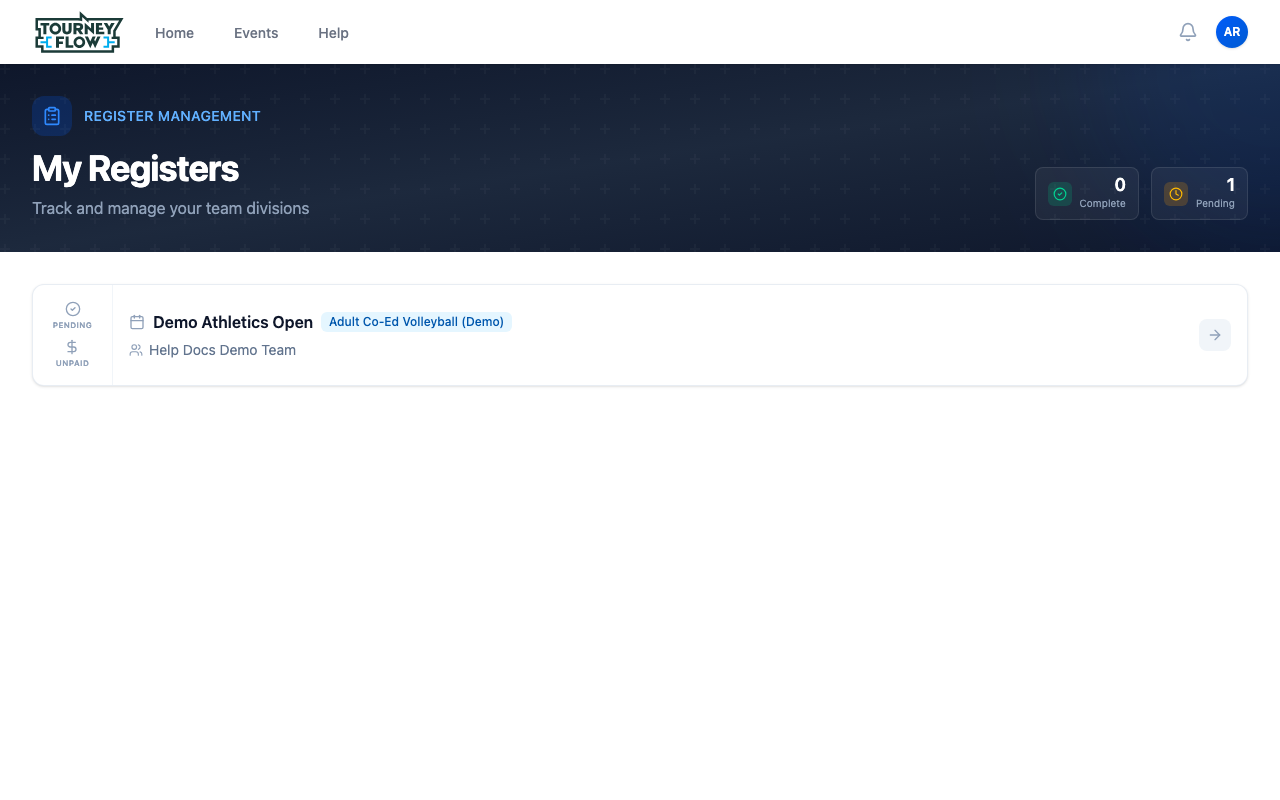
Step 1: Open Your Registers
Open the account menu (avatar in the top‑right) → Registers, or go directly to My Registers. You'll see every registration tied to your teams, with status badges on each row showing whether it's Done or Pending and Paid or Unpaid.
Step 2: Find the Documents Section
Click the registration you need to handle documents for. On the registration page, scroll until you see the Documents panel on the right. It shows any forms or links the organizer made available (e.g. a downloadable Waiver Form). Each item is tagged with:
- PER TEAM or PER PLAYER — whether one upload covers the whole team or each player needs their own
- REQUIRED — registration can't be completed until this one is filled
- A download arrow — click to grab the template the organizer provided

Note
If the Documents panel says "No documents available", the organizer hasn't asked for any documents on this division — you're done with this step.
Step 3: Open the Required Uploads Panel
Scroll a bit further. Below the Documents panel you'll find Required Uploads. Each row here represents a file the organizer expects from you. Rows that haven't been satisfied show "Required document missing" in red and a blue upload button on the right.

Step 4: Upload Your File
Click the blue upload button on the required row. An Upload File dialog opens. You can either:
- Click Upload a file to open the file picker, or
- Drag a file from your computer onto the dotted box
Supported formats: PDF, DOC, DOCX, PNG, JPG, up to 10 MB.
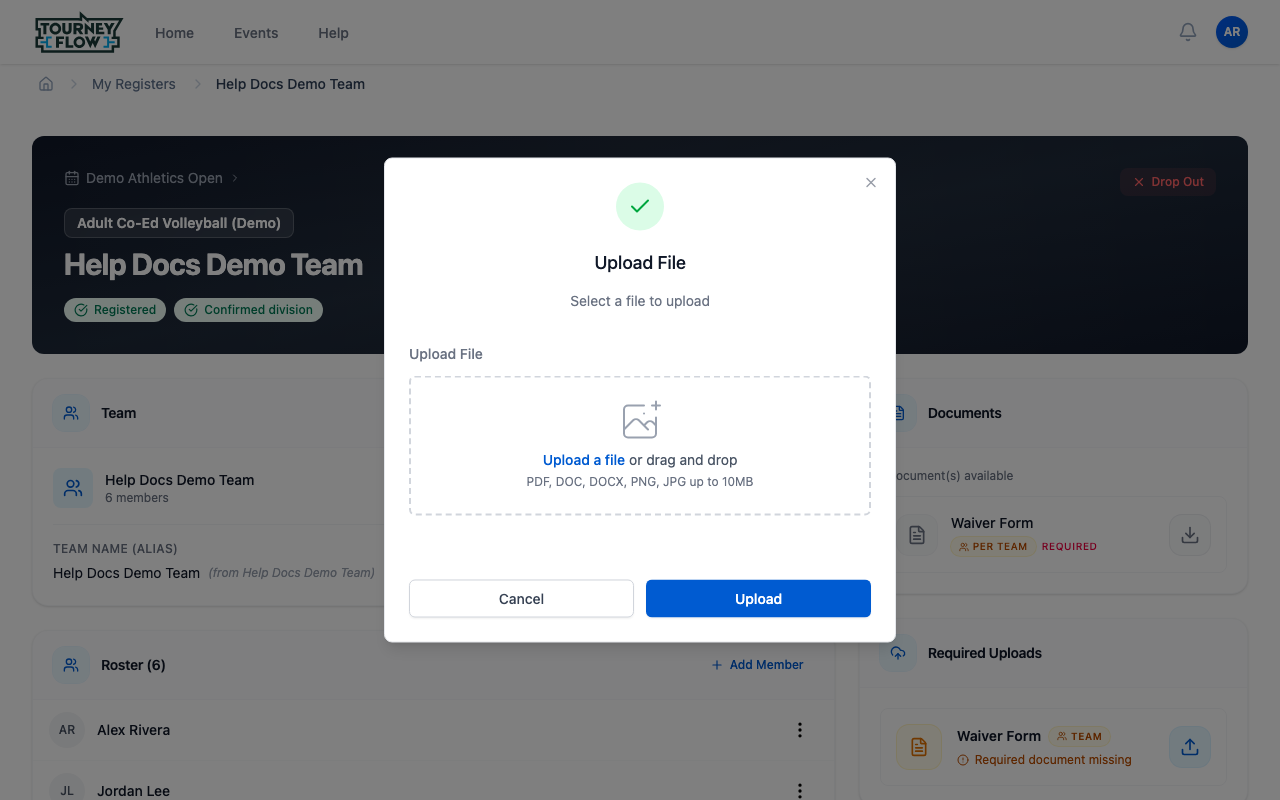
Click Upload once your file is attached. The file appears in a new Uploaded Files panel on the registration page, and the row that previously said "Required document missing" updates to show your file.
Tip
Upload early. Organizers may need to review submissions, and some divisions block roster changes or check‑in until every required upload is in.
What's Next?
- Confirm your registration is Done by looking at the status badge on My Registers
- Change your division roster if your lineup changes
- Reach out to the Division Coordinators listed on the event page if a document was rejected or you're unsure what to upload